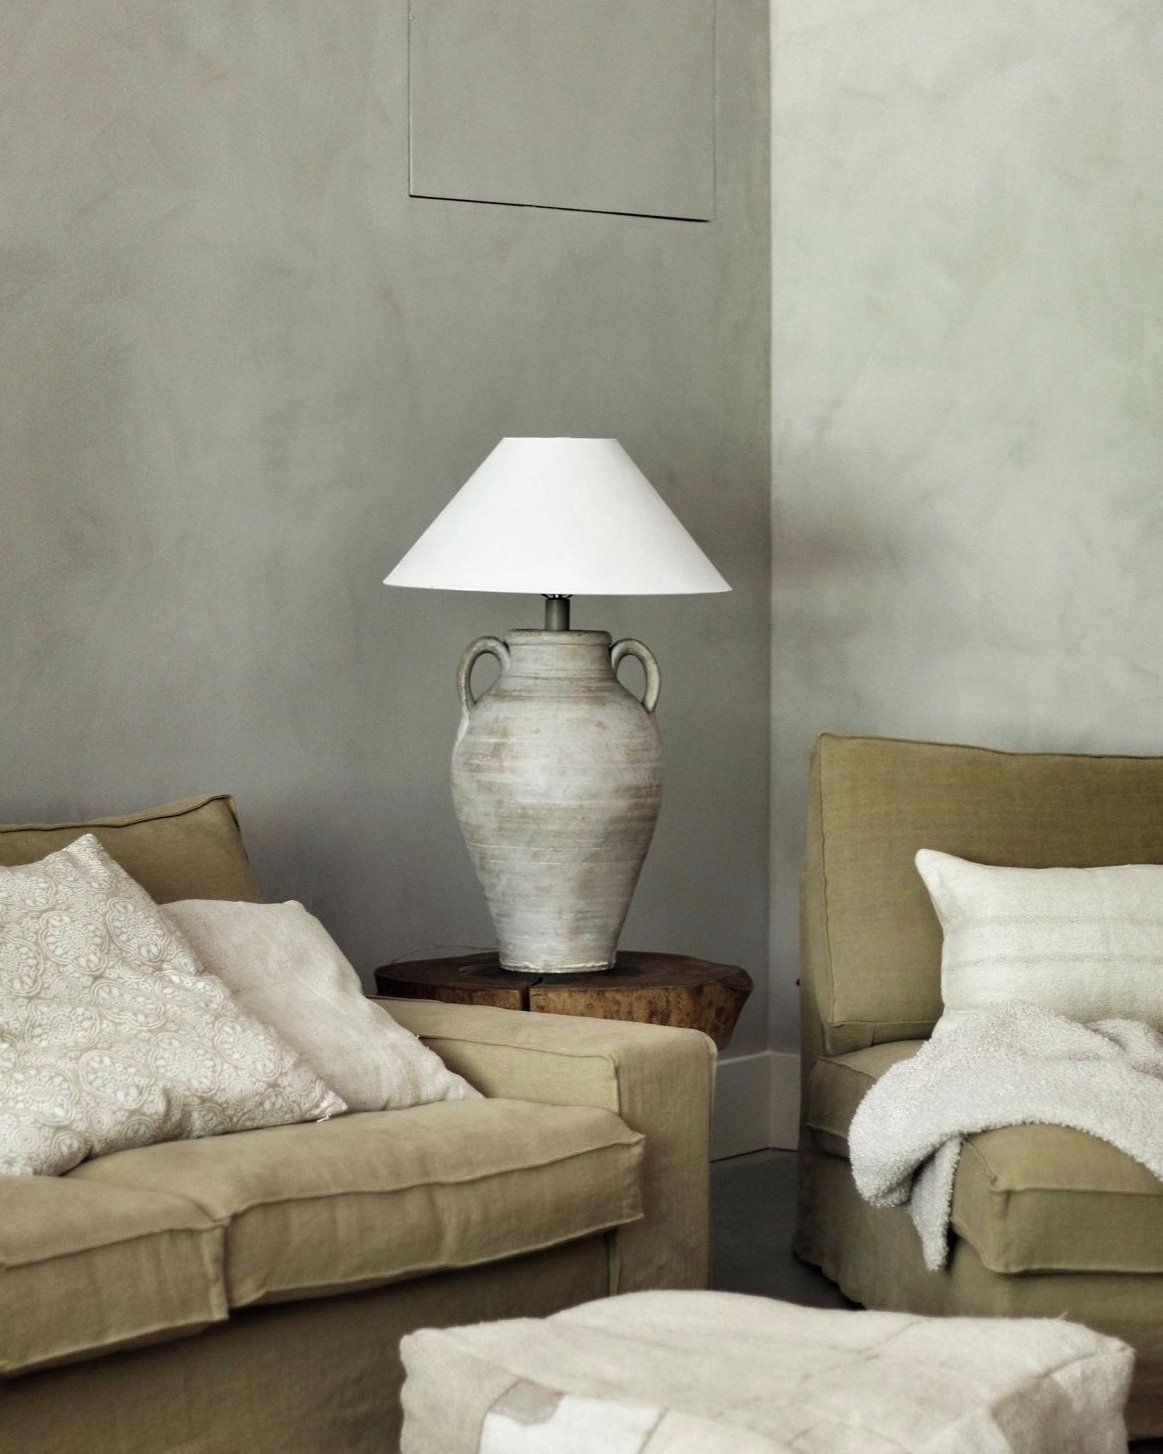
Creative Lamp Makeover Ideas
Do you like the shape of your lamp, but not the color or texture? Lamp makeovers are inexpensive and easy DIY projects. All you need is paint, and a bit of imagination. Here are a few easy ideas I implemented on numerous lamps with great success.
Lamp Shades
If you like the shape of your shade there is no need to switch it out even if has a dated pattern or is old and dirty. You can easily paint a dated or dingy lamp shade with chalk paint. Here is how:
Clean your shade with a damp cloth.
Dilute your chalk paint with approximately one part water to two parts paint so the paint goes on evenly. You will need at least three layers of paint for full coverage.
Before
The shape of this lamp shade was great, but I did not like the pattern. Three coats of diluted white chalk paint did the trick. It is important that the paint is thinned so that it goes on evenly.
After
Here is how beautiful this lamp looks after the shade makeover. The base was already great, and the lamp shade had a contemporary shape.
Lamp Bases
Look for lamps with a texture that can easily be painted. Wood and low gloss ceramic lamps are the easiest to paint.
Clean the lamp thoroughly with a damp cloth.
You may want to alter the texture by sanding. Dated finishes can be sanded smooth by hand, but a power sander will definitely make the job easier.
A couple of coats of plain chalk paint will do the trick if you’re simply after a color change. The matte chalk finish adds an instant hand turned pottery look.
Before
Here is how I found this lamp. I sanded away the grainy finish using a power sander. It only took a few minutes to smooth it out. I then simply painted it with a light beige chalk paint to give it a hand turned look. The project took less than 30 minutes to complete.
After
Here is the beautiful result. The new linen lamp shade gave it a modern touch, and it looks just like the expensive hand-turned piece I have been obsessing over for so long.
Before
The shape of this 80s lamp was perfect, but the shade was dirty and the base needed a new color.
After
I painted both the shade and base a crisp white and now it looks perfect!
How to create a dark aged look
I use a combination of black glossy spray paint, chalk paint, and brown chalk paint wax to create this look.
Start with a layer of black glossy spray paint and let it dry, then unevenly paint the lamp with a layer of medium gray chalk paint.
While the paint is still wet, remove it in places, and add marks by scratching it with a broken stick.
Finish with dark wax randomly applied until satisfied.
Sand the lamp in places for an extra layer of aging.
If needed, you can add more layers of paint until you are satisfied with the results. Generally, the more layers you add, the more authentic the piece will look!
Before
Here is how I found this lamp. I sanded it to remove some of the ridges and painted it using the dark aged method.
After
I am so happy how it turned out. It looks so authentic, and the shallow linen shade was a perfect addition.
How to create a light aged look
For a lighter aged look I follow the same general steps as for the dark method, but my color combination here is white paint, light gray chalk paint and brown wax. I sand a bit after my coats have dried to reveal the different layers, and finish with dabbing brown wax for added dimension and aging.
During
I started with one coat of white chalk paint and diluted my gray chalk paint with one part water for a subtle and uneven gray-washed look.
After
I finished by dabbing on dark brown wax unevenly to create a realistic aged appearance. I used the Annie Sloan dark wax, but any dark paint wax will do the trick.


